
To add a new user
1 min
When adding a user, you can also select one or more user roles for them.
- At the top-right corner of the page, click Admin. Under the Users heading, click the Users icon.
The Access Management page displays, listing the following information about configured users: email address, username, display name, contact number, name of the associated user role, user status (true or false), and an ID generated by the application.
- From the Select Actions drop-down, select New User. The New User page displays.
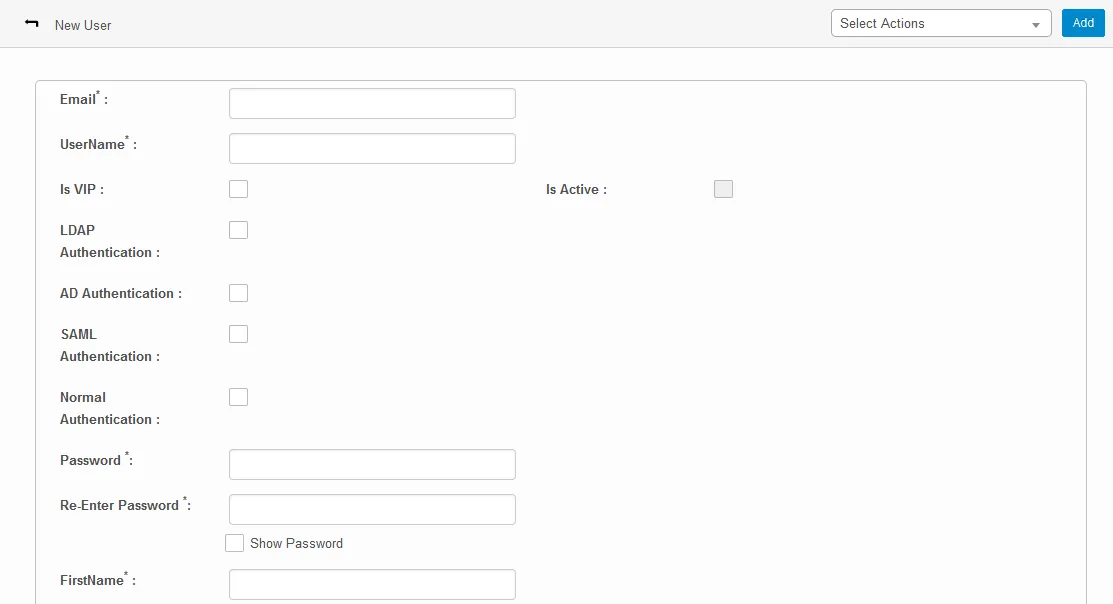
- Enter the user’s email address and their username for logging into the application.
- Select the Is VIP option to enable VIP privileges.
- Select the authentication to give the user, then enter those settings. A user can have only one type of authentication. If you don’t require authentication, then enter a password and share it with the user.
- Enter the user’s name and display name in the application, as well as their contact information.
- Add a location, role, department, and group for this user. A user can be assigned multiple user roles and belong to multiple groups.
- Add report to information, upload a profile picture if needed, and add a landing page, which the user will view immediately after login.
- Select the language for viewing the UI.
- When finished, click Add.