
Configuration on ICS
Create an OAuth Server on ICS using the ICS Admin console
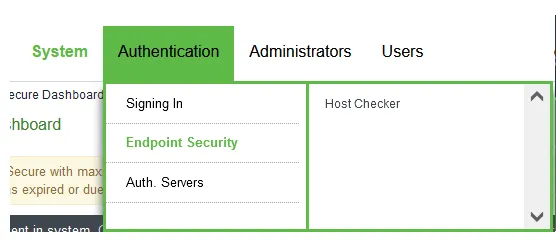
- Log in to the ICS Admin console as admin and navigate to Authentication > Auth Servers.
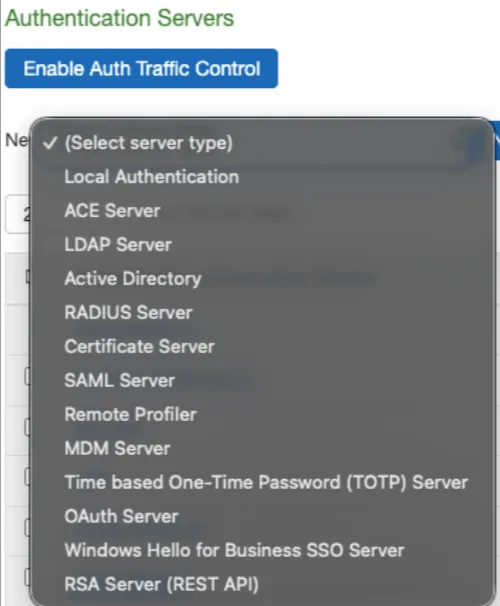
- From the dropdown list, select OAuth Server and click New Server.
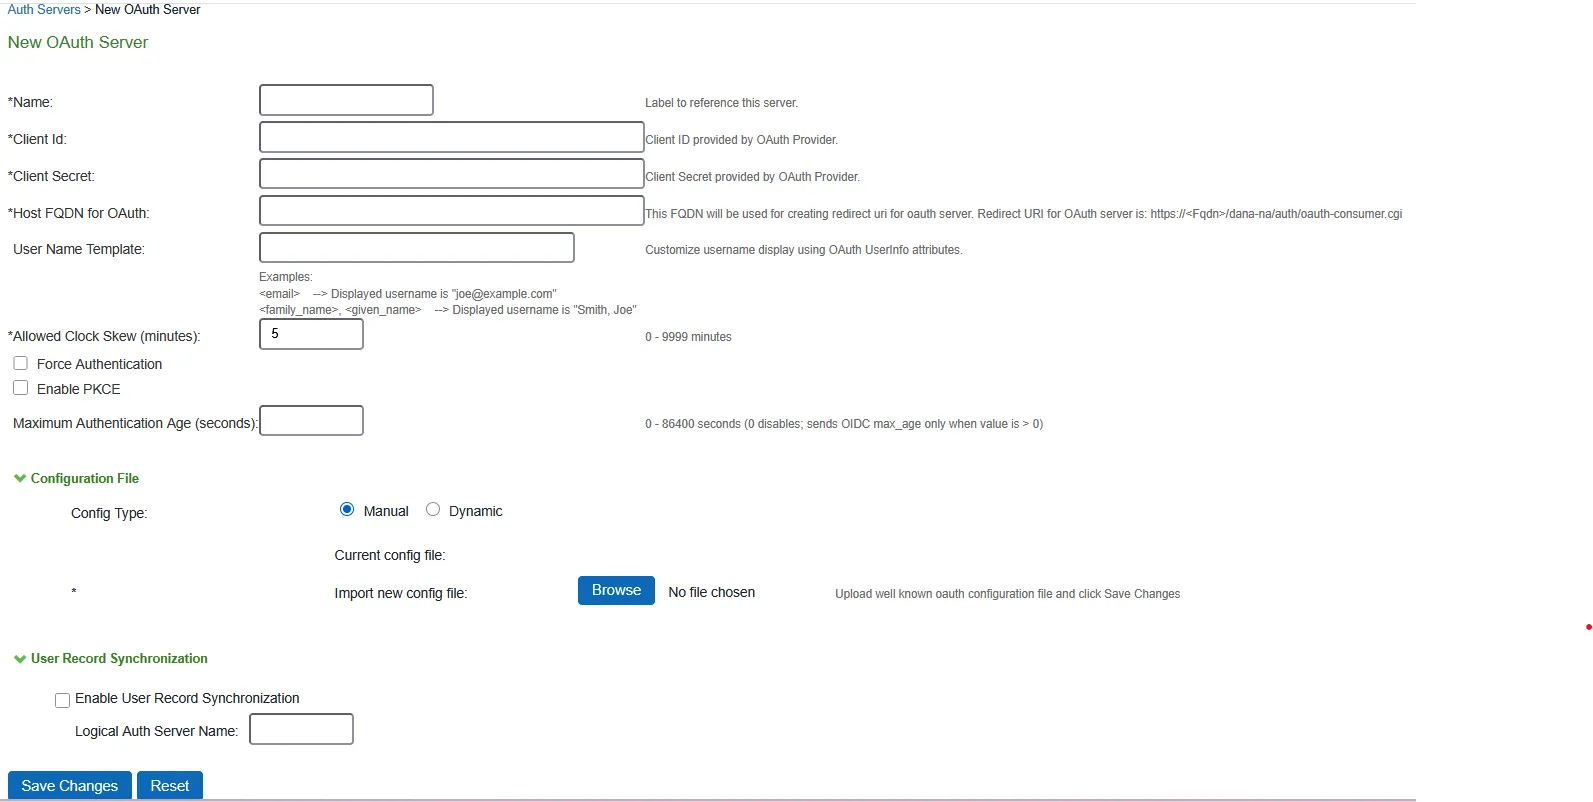
- The Username Template field for OAuth servers is now supported, allowing administrators to customize the username displayed to end users in the End User Portal and in User Access logs. Previously, the displayed username was always the email address from the ID Token (if available), or the sub value if not. Examples: <email>: Displayed username is "[email protected]" <family_name>, <given_name>: Displayed username is "Smith, Joe"
- The template can include static text as well as variable attributes in the <attr> format, which are replaced with values from the UserInfo response sent by the OAuth Provider. If an attribute is not found, the <attr> token will be replaced with an empty string.
- Provide all the required parameters. Select Force Authentication to re-authenticate end users though a valid session is available at OAuth Provider.
- Select Enable PKCE to incorporate the OAuth protocol extension outlined in RFC 7636. Enabling Proof Key for Code Exchange (PKCE) helps to protect against interception of the authorization code returned from the authorization endpoint, by utilising a dynamically created cryptographically random key during the authorization and token requests.
- Specify the maximum authentication age in seconds (0 to 86400). A value of 0 prevents the OIDC max_age parameter from being sent. The OIDC max_age parameter is included only when this value is greater than 0. Reduces the attack surface and prevents cookie reuse, helping to ensure secure authentication.
- Select Manual to manually download the OAuth provider metadata from well-known OpenID URL in JSON format and upload to ICS.
- Select Dynamic to enter the well-known OpenID URL of the OAuth provider. ICS automatically fetches the OAuth Provider metadata from the location.
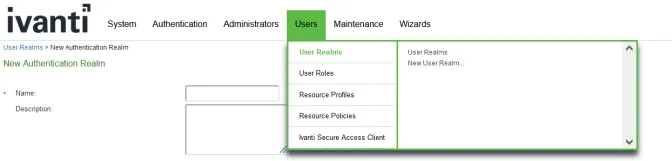
- To create a new user realm, navigate to Users > User Realms > New User Realm.
- Provide required Names and from the drop down Auth Servers, choose the OAuth Server created in the above Step.
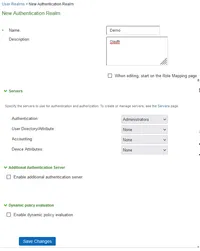
- Save Changes and complete the rest of the steps for Role mapping rules.
- To create a Sign in policy, navigate to Authentication > Signing In > Sign-in Policies.
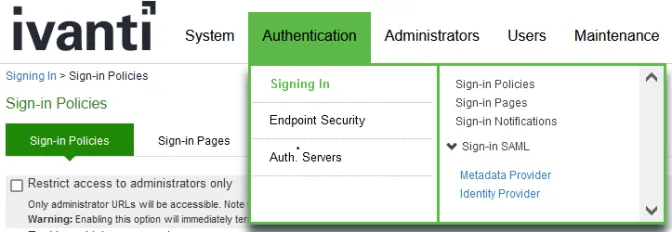
- Click New URL to create a New Sign-in policy.
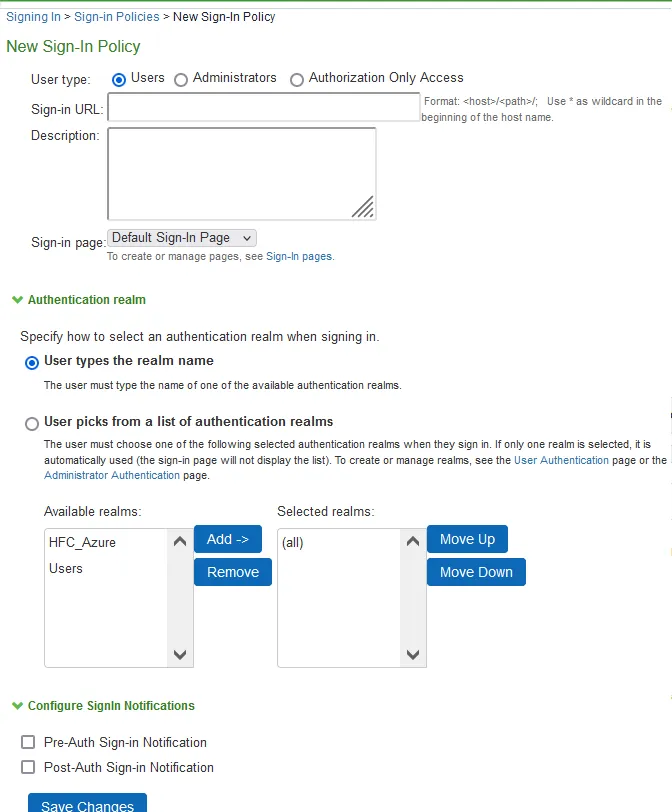
- Provide the required fields like Name and then select User picks from a list of authentication realms, from the Available Realms list in left column, choose newly created realm in the Step above and click Add.
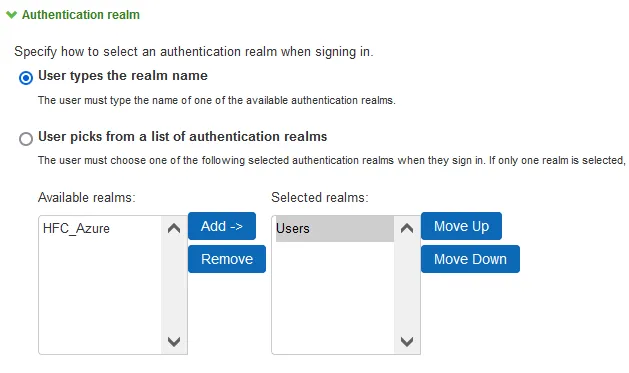
- Click Save Changes.